Stories are an essential part of your social media content? This guide will show you how to create stories with Fanpage Karma.
Since May 23, 2023, it has become possible that Instagram stories can not only be pre-planned, but also automatically published. From now on, you can choose whether you want to manually edit your Instagram stories in the app before publishing them and add music and polls, for example, or if you want to publish your stories directly from Fanpage Karma.
(The screenshots can be enlarged with one click).
Create Stories
You can find the editorial calendar under Publish in the main navigation. To create a new story, follow the steps below:
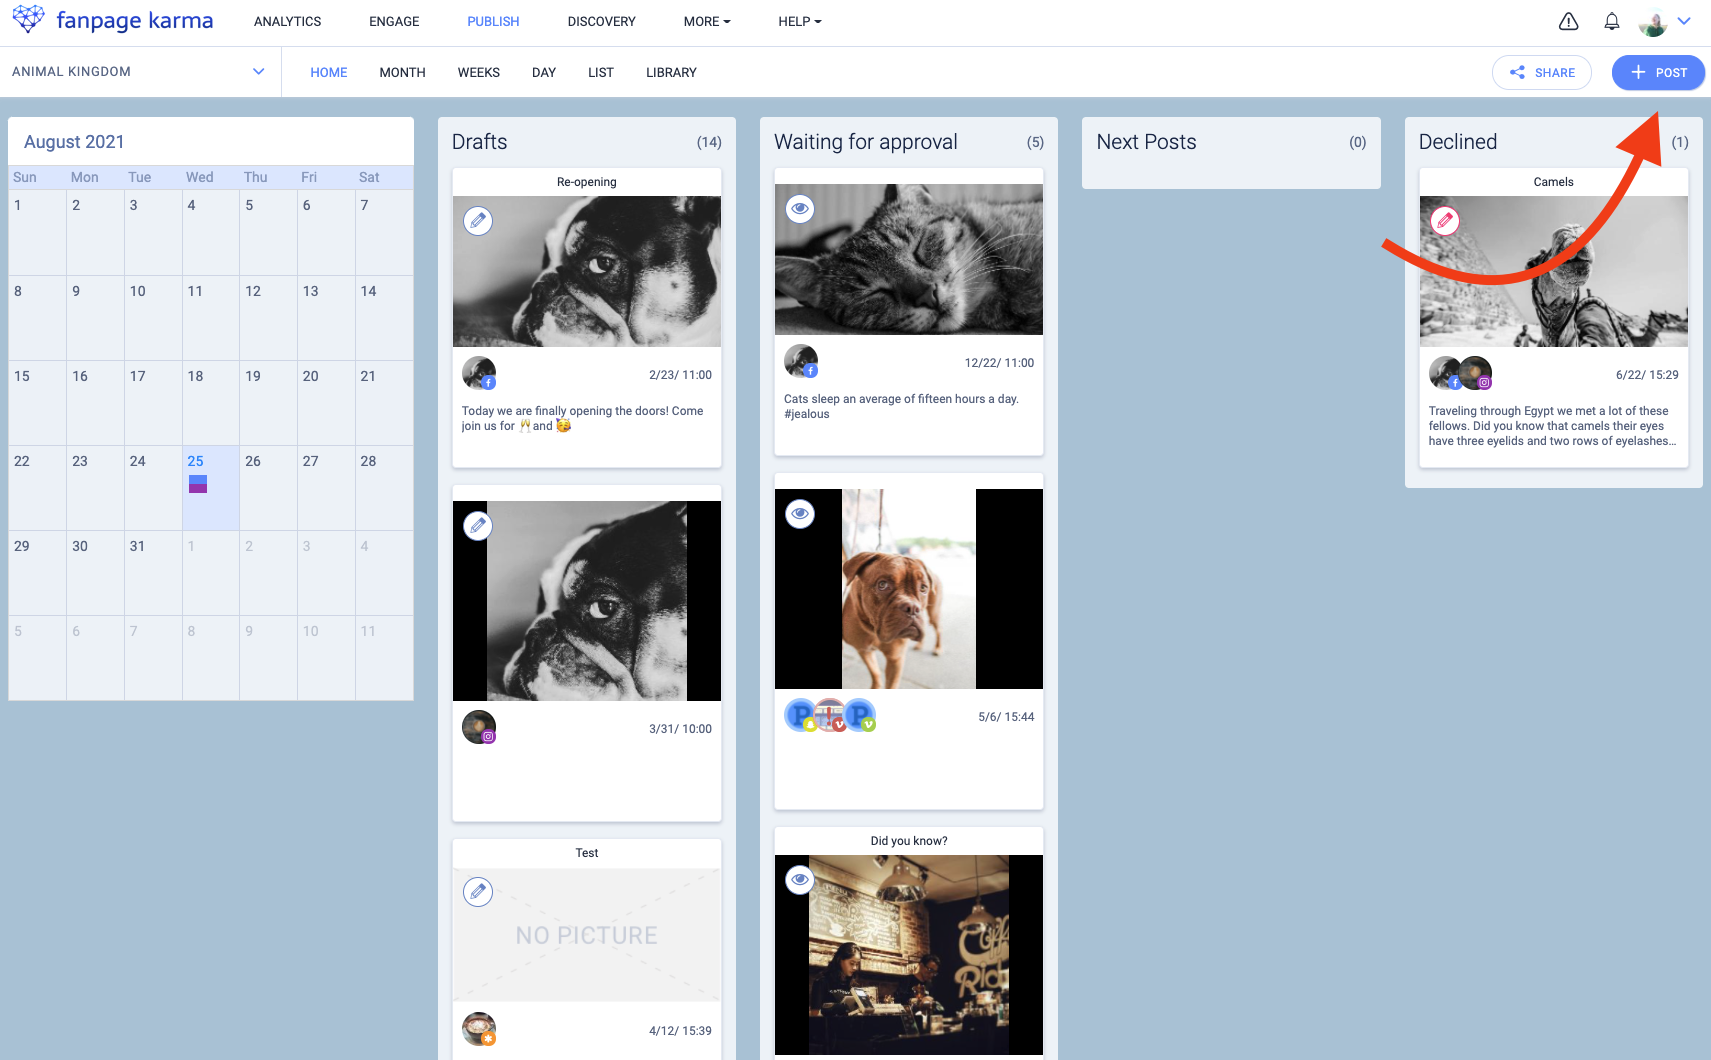
- Click on the “+ Post” button in the upper right corner in your “Publish” section of Fanpage Karma
- Select “Story” in the dropdown menu
- Pick the profiles you want to create a story for under “Select Profiles”
- Enter the publication date under “Date and time”
- Decide if you want your story to be published automatically (available for Instagram) or if you prefer to publish it manually.
With manual publishing, you have the option of adding graphic elements such as text, polls, mentions or music to your story on the social network itself. With manual publishing, you have the option to add notes to your story posts, which you can use to save your ideas for texts, polls, mentions and music tracks that you want to add to your story on the social network before publishing it manually.
Automatic publishing requires less work on your part, and you can pre-plan your stories days or weeks in advance. However, polls, music, and texts must be added to your story before you upload it into your Fanpage Karma media library. - After you have chosen one of the two publishing methods, click on the graphic field and select your image, video or GIF from the media library that you would like to post as a story. You can also upload your story video/image/GIF from your computer at this point.
- You can add as much media as you want. Once approved and published, they will all be added to your story in the order you choose.
- If you selected multiple profiles to post stories to in the beginning of your publishing process, repeat the process now for all the profiles you selected.
Edit Story
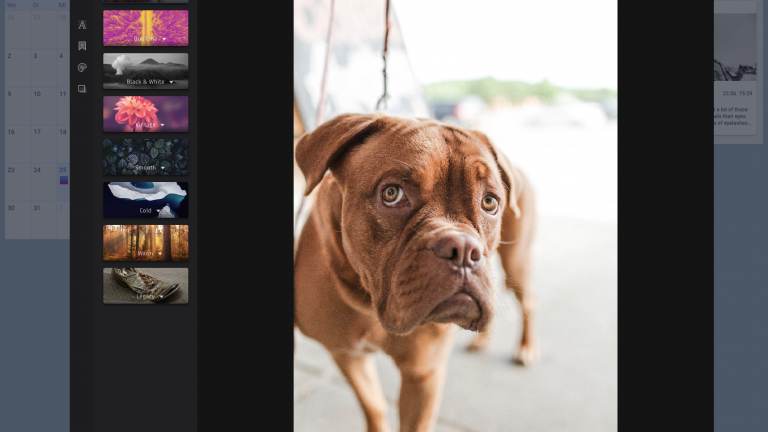
Is your image not in the right format? We have a quick solution! With the image editor you can change your images to the right network format, apply filters or add text and stickers with just a few clicks.
- Open the story draft
- Add an image
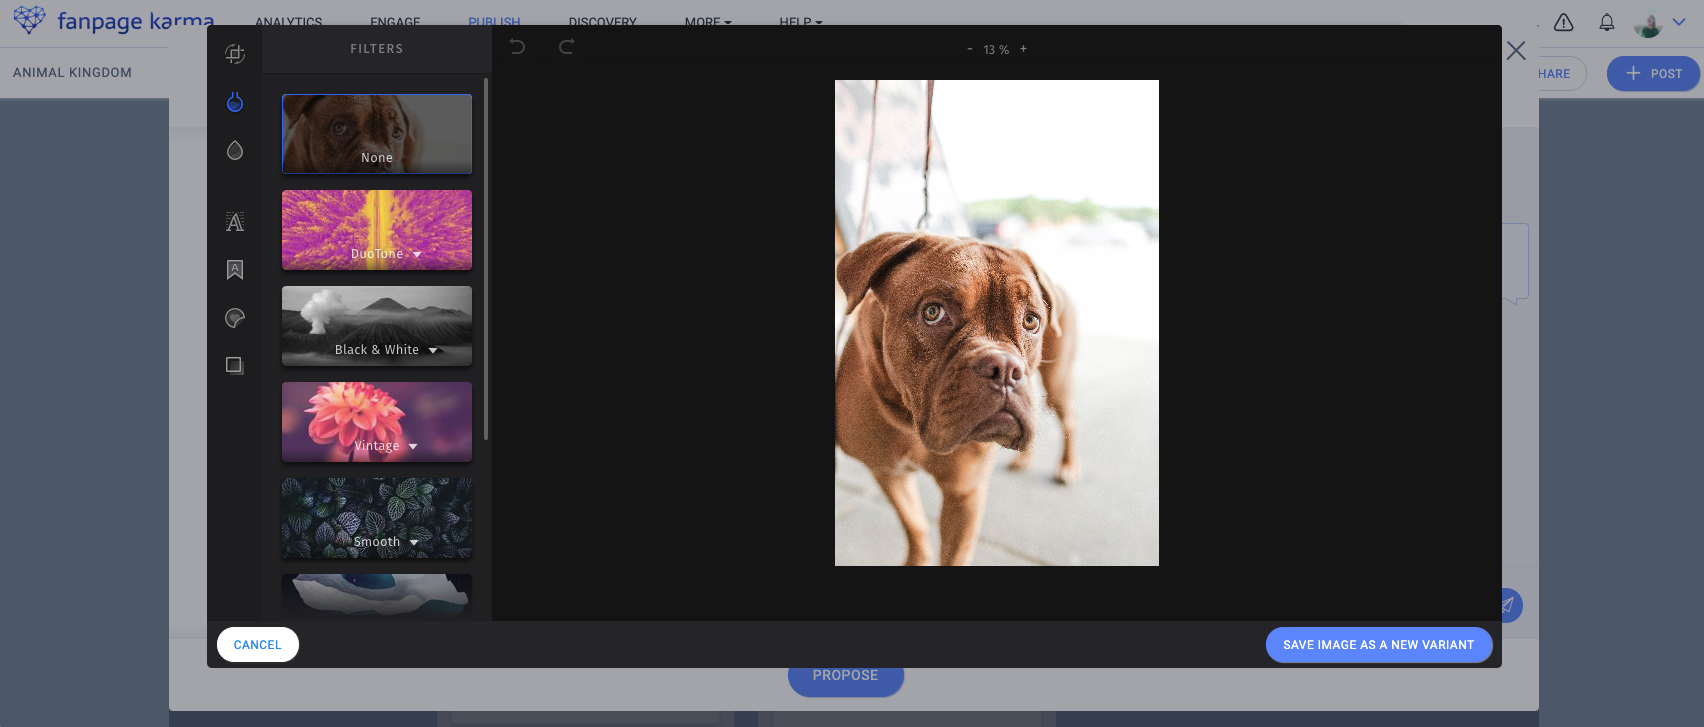
- Click on the pencil at the bottom right and open the image editor
- Edit the image according to your wishes
- Select “Save image as new variant”
- Click “Add”
Once you have finished editing your stories, you can finalize the story draft and initiate the approval process.
Get Approved
Before publishing your content, we recommend getting story drafts approved by a second person. This allows other decision-makers to review the content, comment on it, and correct any mistakes you notice. The approval process ensures that no incorrect stories are published.
- Click “Approve” in the story draft
- Your team will receive a notification. Under the bell icon on the top right of the navigation list you will find the request. They must click on it.
- If the story needs to be edited again, you can leave a comment and click on “Withdraw” to put the story back into draft mode
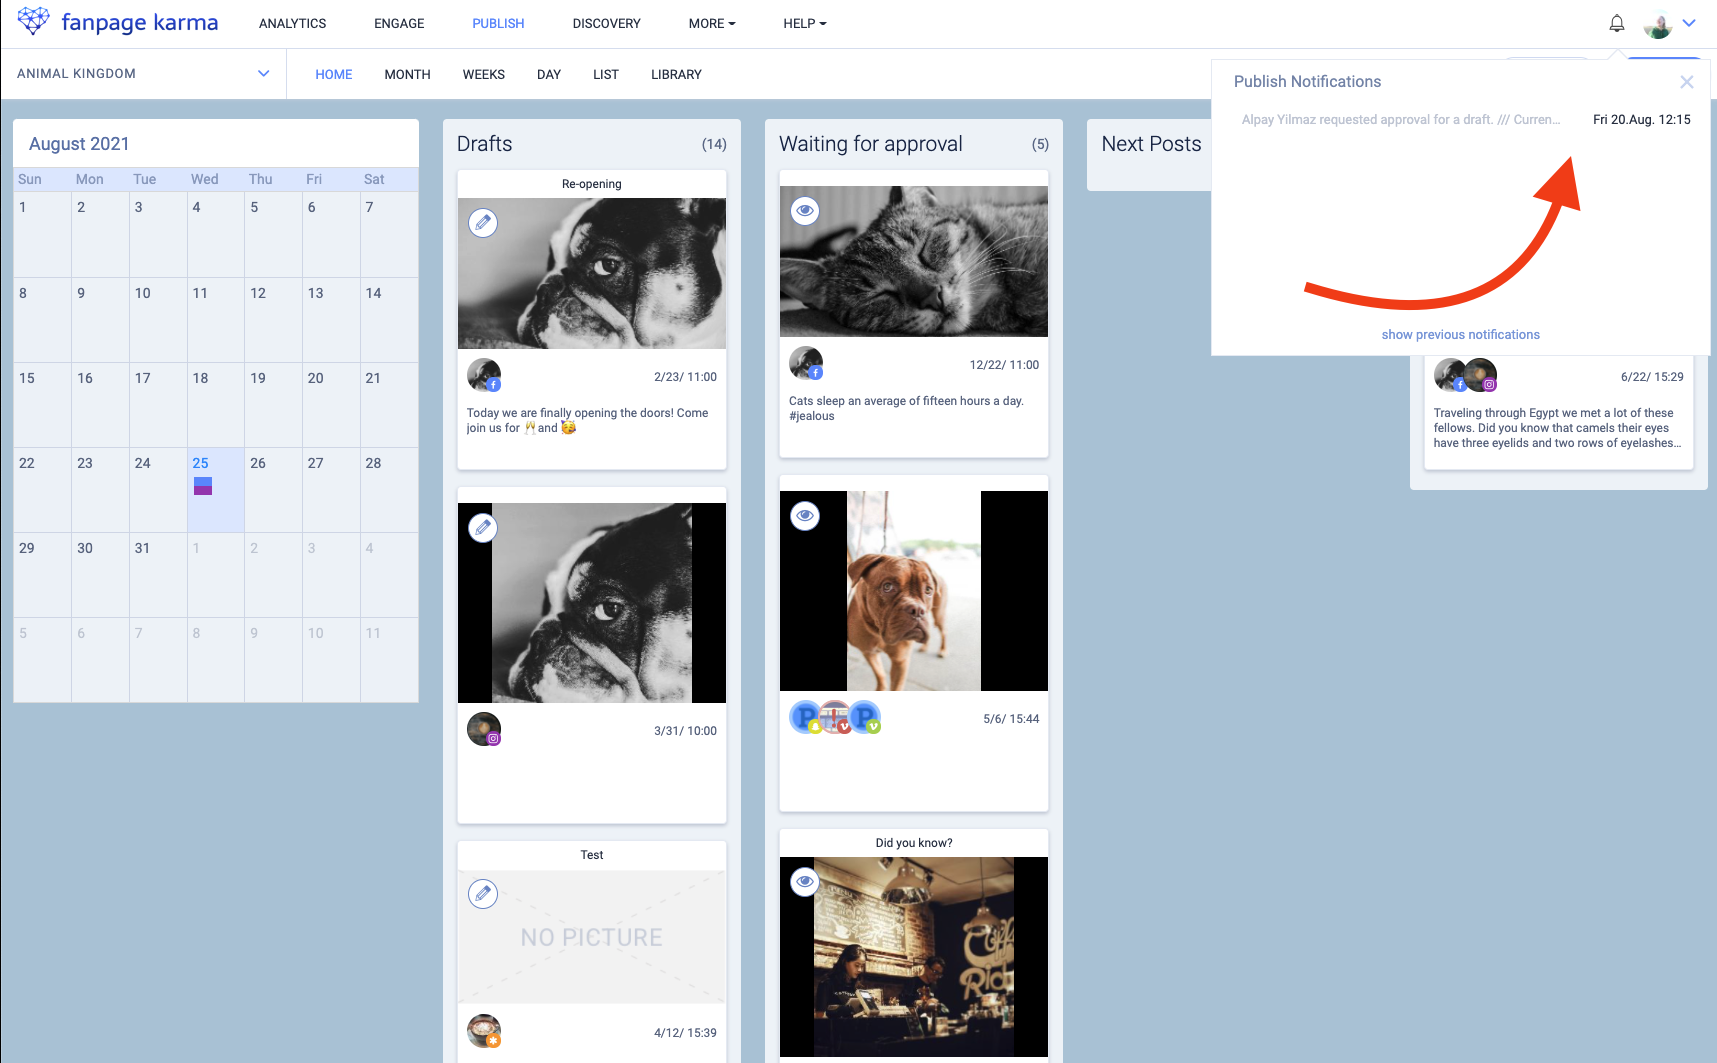

- Now a notification appears under the bell that a story has been rejected
- Implement the feedback
- Click “Propose” again
- The story will be confirmed with a click on “Approve”
Now the story is ready and appears as scheduled in your editorial calendar. Before the scheduled publication of your content you will receive an email as a reminder.
Planning Your Stories Solo?
- Select “Approve”
- Go to start screen
- Click on the story in the “Waiting for approval” column
- Select “Approve myself” and confirm
Get Started Now!
Now you know how to create and schedule stories with Fanpage Karma. Start now and organize all your content in one editorial calendar!
Have questions? Then let us know at service@fanpagekarma.com!